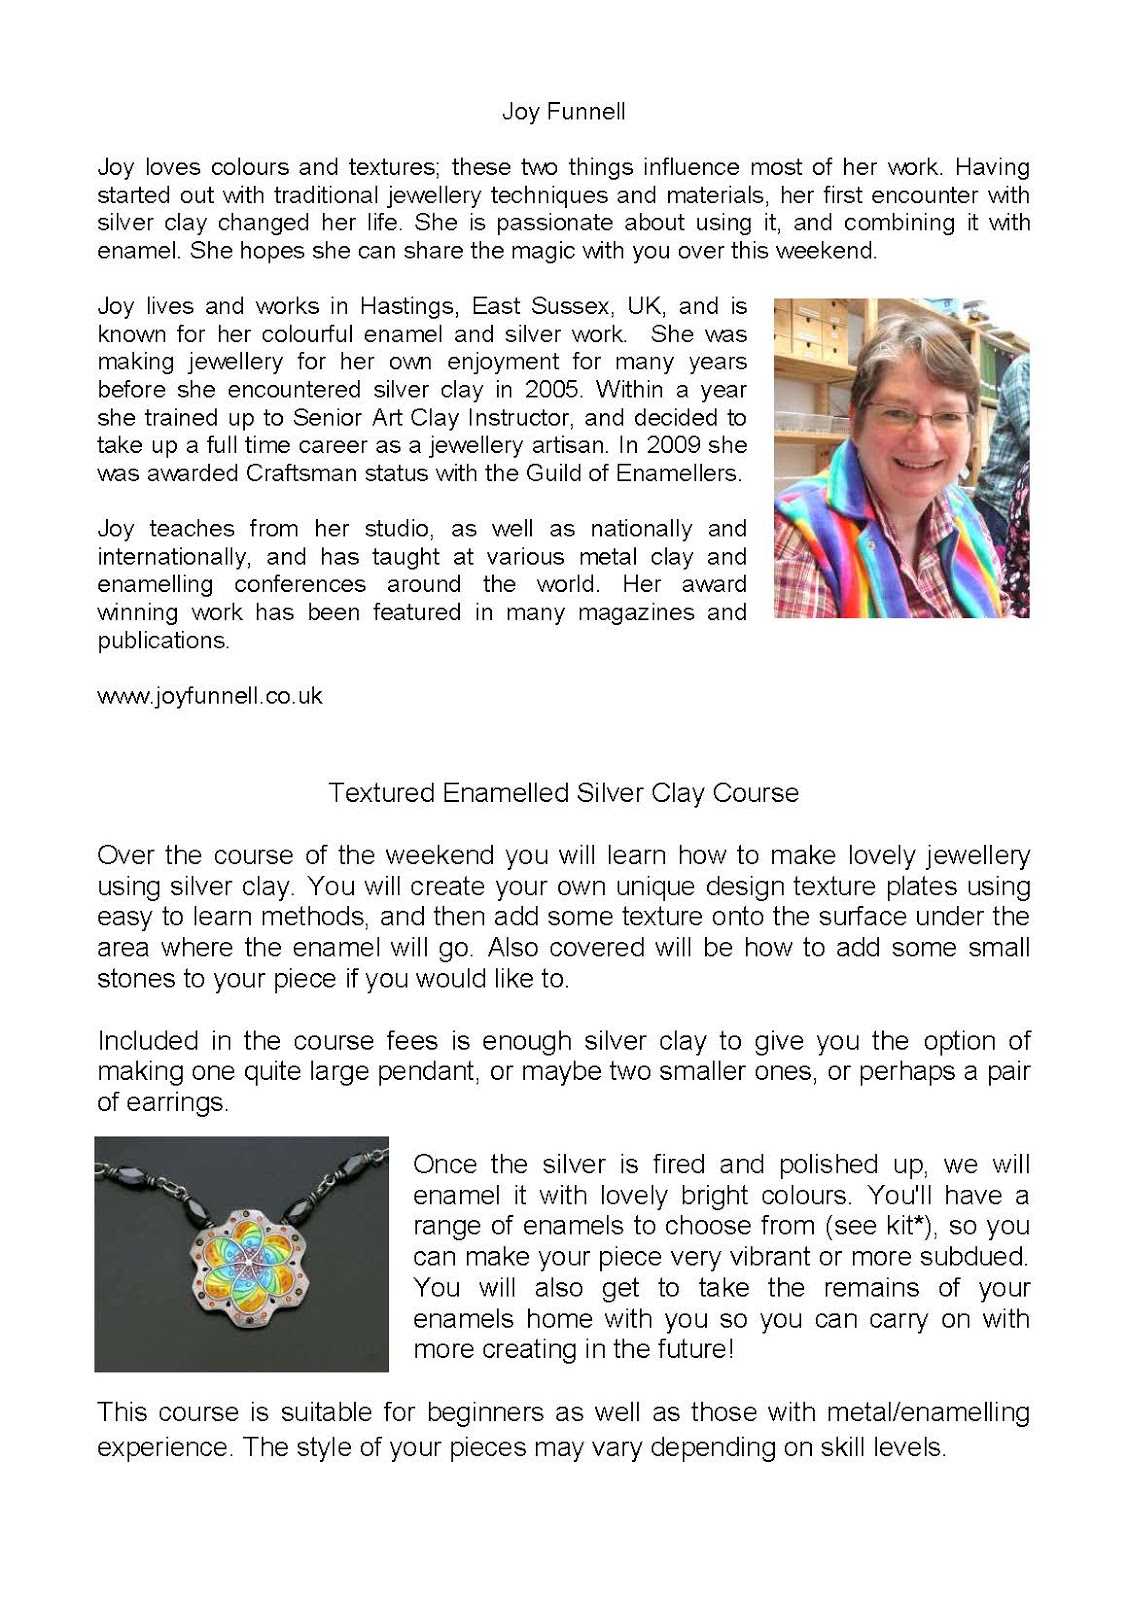
I'll be teaching Enamelled Textures with Silver Clay at a weekend workshop in Folkestone, Kent, UK at the start of November this year.
The workshop runs from Friday afternoon to Sunday afternoon and the fantastic price of £399 includes your accommodation, meals, 25g of Art Clay Silver and 14 hours of teaching!!! The only extra is a kit fee of £16 which will include enamels etc, and any drinks you want while we are all there you'll buy as we go along! ;)
This will be a small group and it's going to be a fun weekend !! The workshop takes place in the Best Western Clifton Hotel in an excellent position on the cliff top. We will have all our meals together and work into the evenings too!!
This is already booking up and places are limited so don't miss out!
Folkestone is on a direct train route from London and right beside the Channel Tunnel, so perfect if you want to pop over to the UK to join us!!!!
I'm looking forward to seeing everyone and a great weekend of fun and creativity!!!
I am so excited to tell you that we are now all set for my workshops in the USA!!!
This is the only time I'll be teaching in USA this year so don't miss out :D
First I'll be teaching a two day workshop on the 15th and 16th October.
This is my new Hidden Lantern workshop.
One side has your own unique silver texture that is enamelled and decorated with 2mm stones...
the other side is pierced and you have the option to add keum boo inside so the gold shines out!!!
Oh, and did I mention that we have a lovely radiating carved design top???
This is a technique packed 2 days and not for the faint hearted ;) But hey, you know me , I love to keep everyone working...with a good sprinkling of laughter and fun included of course!! :D
Then to follow on why not join me for my
Joyful Spinner Rings workshop.
This is on 17th October so you can make it a long weekend of creativity!!
These are super fun!!
We'll cover making them the right size (yes I know, that can be such a hassle!!!) and you'll make everything in silver clay.
The outside ring is textured and yours will be uniquely you as you'll create your own design around the edges. Of course we'll make sure everything is super smooth and beautifully tactile to feel and wear too.
The inner ring will spin freely and of course it will need some colour (doesn't everything???) so we'll be adding 2mm fireable stones.
Here's a spinney video ;)
These are just some ideas, I've already made other rings (watch out for more photos!). This technique is so versatile!
So... you've made it this far through my post???
Where are these workshops I hear you asking!!! ;)
Just near Washington DC at La Ruche Davis with the most excellent Ann Davis as host!!!
A workshop at Ann's is always a good laugh, and don't miss out on her included Saturday night GF buffet and wine social if you book the 2 day workshop. I always love this bit with super people dropping in to join us too!! :D
I'm looking forward to seeing old friends and meeting new ones :D
Have Fun!!!
Joy
PS Feeling left out as you are in Europe?? I'll be posting about a wonderful workshop in Folkestone UK in November this year in my next blog post tomorrow! Don't miss it!!
Whoo hoo!! It's 10 years ago this year that I started up my own business and got totally passionate about all things metal clay!!!
10 years...and I'm still here!! That has to be worth celebrating - and what the heck - let's spin it out for a whole year :D
Watch out for fun things to come including GIVEAWAYS, special offers and discounts.
So...to start the ball rolling for January I'm going to offer 10% off workshops. Learning something new is a great way to start the new year!
Of course there has to be some rules* ;)
*Discount applies to 1-2-1 and 2-2-1 workshops at my home base in Hastings, UK only.
*Workshops need to be booked by the end of January 2016 and the actual workshop needs to be completed by the end of March 2016
*LIMITED AVAILABILITY...there are only so many days between now and the end of March!
*Discount is not available on 7 day combined Art Clay L1 and L2 workshop - sorry!
*To take advantage of this offer you have to email me at joy@joyfunnell.co.uk to see if we can find a slot for your workshop. If we can - great - I'll book you in and you get 10% off the price!!
*Can't see the workshop you want on my website? Just ask and I'll tailor make one for what you want to learn.
Where did 2015 go??? Wow...that year seemed to go so fast!!!
So we are now at the start of 2016 and I thought I'd do a round up of my year long challenge :D
I know...this is only post number 49 so I'm 3 short of the 52, but I do have several things to show you in it though :D That's my excuse!!! I decided it was better to round if off as we have passed the year end, but I'll still be posting regularly and I have lots of ideas still unfinished so you'll be seeing them in 2016 :D
I thought I'd finish with a few other things I've made which had slightly different things in for me, but that I haven't posted here yet. I made these in December.
First off we have another spinner ring. This is the second one I've made using my new technique. It wasn't until I was well into making this that suddenly I realised I had created little sets of eyes all around it! That wasn't planned! They look like eyes either way up as well!! :D
Next we have a moulded shell. I know...we all make those...but this one was made in full 3D from a very special shell for a client, and it's the first shell I've done with this type of bail attached to it :D
Next is a simple ring - but I'd never made a Z ring before - again this was for a client. I think it turned out quite well. It has a wavy back to it - forgot to photograph it from that side though!
Then some little sparkly drops set with 8mm stones. These are from my Bag of Bling!
Finally we have a turquoise pendant. I actually made this one as an example while I was teaching an Art Clay Level 2 diploma recently...so why is that different? Well using turquoise and gold together was on my challenge list. I really like the combination of the two and will make more using those them.
BTW the spinner ring at the top was also made while I was teaching that L2 workshop. It's the bonus of a 1-2-1 workshop, I can often fit in demo-ing a few extra things ;)
So that will be it for challenge entries and whilst I didn't hit 52 I don't mind as I have really enjoyed it! I've learnt lots of new things and had fun - what else can I ask for!!
2016 marks 10 years for my business, and 10 years that I've been using silver clay - so watch out for posts about special offers as I'll be celebrating all year long!!!
I'm very excited about the new textures I'm working on!!
We have been doing testing on the production of them and we seem to have it sussed now. YAY!!
These are very different to the laser cut card Joyful textures that I already sell. These are new designs and a different material for the texture plates. They are durable and produce really sharp details as you can see from the photos.
I can't show you an actual texture plate just yet - trade secrets and all that you know ;) lol
The earrings above are combined with various semi precious beads - sleeping beauty turquoise, imperial topaz, carnelian and amethyst. (These are all for sale so I must get on and list them!) The black beads in the photo below are tourmaline.
Next I'll make some enamelled examples :D
I should have these for sale in January, I'm still finishing off all the designs. If you want me to let you know when they are ready just let me know.
Back in September I made this Torii pendant as part of my challenge. You can read all about how I made it in 31/52 Joyful Torii Part 1.
This is the back of the pendant.
Now for Joyful Torii Part 2!!!
The plan was to try using some glass Filato that I bought in Murano, Venice years and years ago. I always wanted to try doing a bit of micro mosaic, but of course having bought these, there they sat, unused!!! Filato are made from Smalti glass and are long rods that are only 1-2mm wide.
I've never tried anything like this before - so I will say straight off that I was winging it as I went along!! :D It largely depended on some internet research and a bit of trial and error ;)
First was cutting up the rods into small bits for the pattern. I wanted to stay with something really simple...so I just went with some coloured stripes. I used some sticky stuff on paper so I could work out the design, you can see the pieces being put together on the left in the above photo.
Next job was to start gluing all the pieces into the frame. If you've read Part 1 you'll know I wasn't too sure about the overall shape of the frame. As you can see from the photos I went with taking off the two lower side pieces.I like this shape better.
I had already realised that I should of made the frame deeper before I ever got this far, but what the heck, I was going for it anyway :) I knew it would mean I couldn't really go for the mosaic surface being flush with the frame, but it was all a learning process!!
My cutting of the pieces was quite an inexact science so the top surface wasn't very even, but at least they all fitted in!!
I let the glue cure and then started to file the surface off to make it more even.
The glass filed down quite easily.
Finally I sealed the top surface. The plan here was to use Lisa Pavela's Magic Gloss to give a nice shiny raised finish...however that idea went out the window when I found the new bottle had gone off and set solid :( Apparently it has a shelf life and I'd had mine for years!!
So instead I just sealed the surface with more Weldbond. Not ideal and I'll probably redo it in time. Anyway here is the finished piece on a chain with a few complementary beads!
It is far from perfect but I learnt loads doing it. I know I need to cut pieces to a much more even size and shape, I probably need to find a different glue, I need to make frames deeper etc etc...but mainly I learnt...I liked doing it!!!
So this is another technique I'll have another go at in the future to see if I can make something much better :D
For Unique Jewellery & Workshops. If you are interested in a piece of my jewellery which is not shown on my website please email me as it may be available to buy.
The Metal Clay Academy is the most comprehensive information resource for metal clay anywhere. Suppliers, teachers, tutorials, projects, work for sale - updated daily